new home sewing machine instruction manual

Welcome to your new sewing machine! This manual guides you through safe operation, features, and maintenance to help you get the most out of your creative projects.
1.1 Welcome to Your New Sewing Machine
Congratulations on acquiring your new sewing machine! This versatile tool is designed to inspire creativity and precision, whether you’re a beginner or an experienced sewer. With its user-friendly design and advanced features, it offers endless possibilities for crafting, repairing, and creating beautiful projects. This manual will guide you through every step, ensuring you maximize your machine’s potential and enjoy a seamless sewing experience.
1.2 Purpose of This Manual
This manual is designed to help you master your new sewing machine. It provides clear instructions for setup, operation, and maintenance, ensuring you get the best results. From basic functions to advanced features, this guide will walk you through everything you need to know. Whether you’re sewing for fun or professionally, this manual will be your trusted companion, helping you achieve perfection in every stitch.
Safety Precautions
Always prioritize safety when using your sewing machine. Keep loose clothing and long hair tied back, avoid distractions while sewing, and ensure children are supervised. Unplug the machine when not in use and handle sharp objects like needles and scissors with care.
2.1 General Safety Guidelines
Always wear short sleeves or tie back long hair and loose clothing to avoid accidents. Keep children and pets away while sewing. Ensure the work area is well-lit and free from clutter. Never sew when tired or distracted. Use the machine only for its intended purpose and follow all instructions carefully. Maintain a clean workspace to prevent mishaps and ensure optimal performance. Safety is paramount to enjoy a rewarding sewing experience.
2.2 Electrical Safety
Always use the power cord provided with your machine to prevent damage or fire hazards. Avoid overloading electrical outlets and keep cords away from water. Never operate the machine near water or in damp environments. Ensure the plug is securely inserted into a grounded outlet. If the cord is damaged, stop use immediately and contact a professional. Electrical safety is crucial for protecting both you and your machine.
2.3 Handling Sharp Objects
Always handle scissors, needles, and rotary cutters with care to avoid injury. Keep sharp tools away from children. Use a needle threader to minimize finger exposure. Store sharp objects in a protective case when not in use. Regularly inspect tools for damage and replace them if necessary. Proper handling prevents accidents and ensures safe sewing sessions. Always maintain focus while cutting or threading to avoid mishaps.

Familiarizing Yourself with the Machine
Welcome to your new sewing machine! Take time to explore its features and understand each component. Familiarizing yourself with the machine will enhance your sewing experience and ensure you make the most of its capabilities.
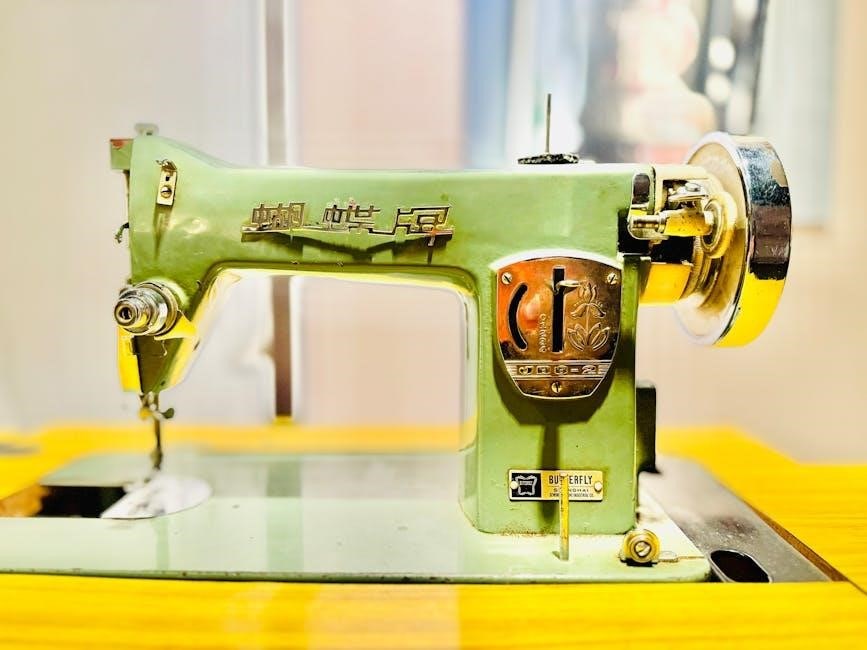
3.1 Machine Parts and Accessories
Your sewing machine includes essential parts like the spool pins, bobbin winder, tension dials, and presser foot. Accessories such as bobbins, needles, and seam rippers are also provided. Locate each component and understand its function to ensure proper machine operation. Familiarize yourself with these elements to maximize your sewing experience and maintain your machine effectively.
3.2 Understanding the Control Panel
The control panel features buttons, dials, and an LCD display for selecting stitches, adjusting sewing speed, and monitoring thread tension. Use the stitch selector to choose from various patterns, and the speed control to set your sewing pace. The tension dial ensures even stitching. Refer to the panel for guidance on customizing settings to suit your fabric and project needs. Always adjust settings carefully for optimal results.
Setting Up Your Sewing Machine
Welcome to the setup section! Here, you’ll learn to unpack, assemble, and prepare your machine for use. Follow these steps to ensure everything is ready for sewing.
4.1 Unpacking and Assembly
Carefully remove all components from the packaging and inspect for damage. Attach the sewing table and accessories according to the included diagrams. Ensure all parts are securely fastened. Follow the assembly guide step-by-step to avoid mistakes. Once assembled, double-check that all components are correctly aligned and functional before proceeding to the next step in the setup process. Proper assembly ensures safe and optimal machine performance.
4.2 Placing the Machine on a Stable Surface
Place the sewing machine on a sturdy, flat surface, such as a sewing table or desk. Ensure the surface is level and free from vibrations. Avoid wobbly or uneven surfaces, as this may affect machine performance. Position the machine away from direct sunlight and moisture to prevent damage. Ensure good ventilation around the machine for optimal operation. A stable setup ensures smooth sewing and reduces the risk of machine damage or malfunction.
4.3 Connecting the Power Supply
Plug the sewing machine into a grounded electrical outlet with the correct voltage rating specified in the manual. Avoid using extension cords or damaged power cables. Ensure the cord is placed away from heated surfaces or sharp edges. Do not stretch or twist the cord excessively. Keep the power supply dry and avoid overloading the outlet. Proper connection ensures safe and reliable machine operation. Always unplug when not in use.
Basic Operation
Master the fundamentals of your sewing machine by learning proper threading, bobbin winding, and stitch selection. These essential steps ensure smooth and precise sewing outcomes every time.
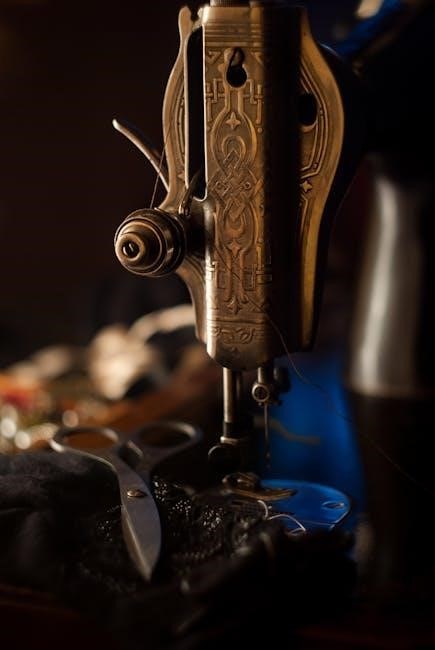
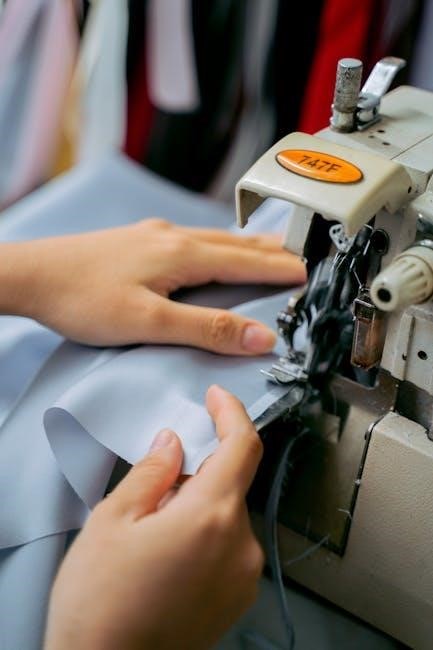
5.1 Threading the Machine
Proper threading is essential for smooth sewing. Locate the spool pin and draw the thread through the tension discs. Guide it through the take-up lever, then insert into the needle. Leave a small slack. Always ensure the presser foot is up during this process. Refer to the diagram for precise guidance. Correct threading prevents tangles and ensures even stitching.
5.2 Winding the Bobbin
To wind the bobbin, place it on the bobbin winder. Pass the thread through the bobbin’s hole and wind it clockwise. Ensure the thread is taut but not overly tight. Stop when the bobbin is about 80% full. Trim the excess thread and remove the bobbin from the winder. Properly wound bobbins ensure smooth stitching and prevent thread tangles during sewing. Always use matching thread for the top and bobbin for consistency.
5.3 Selecting the Right Stitch
Choose the appropriate stitch for your fabric type and project. Straight stitches are ideal for woven fabrics, while zigzag stitches work best for stretchy materials. Use the control panel to select from various stitch patterns, including decorative options for embellishments. Adjust stitch length and width as needed for precise results. Always test the stitch on scrap fabric before sewing your final project to ensure the desired outcome. This ensures professional-looking seams and hems every time.
Sewing Your First Project
Start with a simple project to build confidence. Choose easy-to-work-with fabric, thread your machine, and sew your first stitch with ease. This section guides you through the basics of creating your first sewing project, helping you feel comfortable and accomplished as you begin your sewing journey.
6.1 Choosing the Right Fabric
Selecting the right fabric is crucial for your first project. Consider the type, fiber content, and weight. Cotton is ideal for beginners due to its ease of handling. Avoid delicate or stretchy fabrics initially. Ensure the fabric is suitable for the project’s intended use. Pre-wash and dry your fabric to remove any finishes and shrinkage. This step ensures a smooth sewing experience and professional-looking results for your first creation.
6.2 Setting Up the Fabric for Sewing
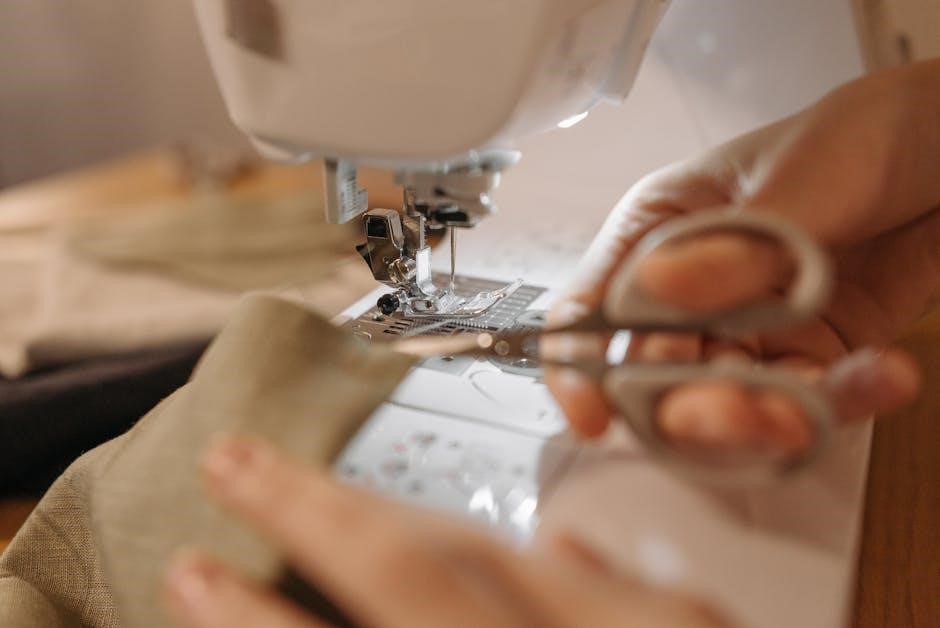
Begin by ironing your fabric to remove wrinkles. Cut your fabric according to your pattern or design. Place the fabric on a flat surface, ensuring it is smooth and evenly aligned. Pin the fabric layers together if necessary, starting from the center and working outward. Align the fabric edges carefully to maintain accuracy. Use a ruler or measuring tape to ensure straight cuts and proper placement. For stability, consider using interfacing or stabilizer if required by your project. This preparation ensures a seamless sewing experience.
6;3 Starting Your First Stitch
Lower the presser foot gently onto the fabric, ensuring it lies flat. Position the fabric under the needle, aligning the edge with the machine’s guide. Select a straight stitch and adjust the stitch length if needed. Hold the fabric steady with both hands, keeping fingers away from the needle. Slowly begin sewing, maintaining consistent fabric movement. Stop occasionally to check your progress. End by sewing a few reverse stitches to secure the thread. Trim excess thread carefully after completing your first stitch.
Advanced Features
Discover advanced stitching options, customizable settings, and specialized modes to enhance your sewing experience. Explore features like decorative stitches, precision control, and automatic functions for professional-grade results.
7.1 Using Different Stitch Patterns
Your sewing machine offers a variety of stitch patterns to suit different fabrics and projects. Experiment with straight stitches, zigzag, and decorative options for unique results. Use the control panel to select patterns, adjust length, and width for customized sewing. Refer to the stitch chart for guidance. Practice on scrap fabric to ensure the desired outcome. This feature allows you to add personal touches and professionalism to your creations.
7.2 Adjusting Tension
Proper tension ensures even stitching and prevents fabric puckering. Locate the tension dials on the machine, usually marked for upper and lower thread. Turn the dials clockwise to tighten or counterclockwise to loosen. Test the tension by sewing a straight line on scrap fabric. Adjust as needed for different fabrics or thread types to achieve balanced stitches. Incorrect tension can cause thread breakage or uneven results, so regular checks are essential.
7.3 Sewing in Reverse
To sew in reverse, locate the reverse stitch button, typically found on the control panel. Press and hold it to activate the reverse sewing mode. This feature is useful for reinforcing seams at the beginning or end of a stitch line. Use reverse stitching for secure finishes, especially on heavy fabrics or when backstitching manually. Always test on scrap fabric before applying to your project to ensure proper function and alignment.
Maintenance and Cleaning
Regularly clean the machine to remove lint and debris. Use a soft brush or cloth to wipe surfaces. Oil moving parts as instructed to ensure smooth operation and longevity.
8.1 Regular Cleaning Schedule
Develop a routine to clean your sewing machine after each use. Remove lint and debris with a soft brush or cloth. Check under the needle plate and bobbin area weekly. Use compressed air for hard-to-reach spaces. Wipe the exterior with a damp cloth, avoiding harsh chemicals. Regular cleaning prevents dust buildup and ensures optimal performance. Schedule a deep clean every month, focusing on tension discs and feed dogs.
8.2 Oiling the Machine
Regularly oil your sewing machine to keep it running smoothly. Use high-quality sewing machine oil, applying a few drops to the hook race and bobbin area. Avoid over-oiling, as it can attract dust. Wipe away any excess oil with a clean cloth. Oil the machine after cleaning and before extended storage. Proper lubrication prevents friction and ensures consistent stitch quality. Refer to your machine’s diagram for specific oiling points.
8.3 Storing the Machine Properly
Store your sewing machine in a clean, dry environment. Cover it with the provided dust cover or a soft cloth to protect against dust. Avoid direct sunlight and moisture. Do not store in attics or basements with high humidity. Ensure the area is dust-free and cool. Proper storage preserves the machine’s performance and longevity. Always clean and oil the machine before storing it for extended periods.
Troubleshooting Common Issues
Welcome to the troubleshooting section of your sewing machine manual. Here, we address common problems and provide solutions to help you resolve issues quickly and effectively. Always refer to the relevant sub-sections for detailed guidance on specific concerns. Troubleshooting ensures optimal performance and extends the life of your machine. Happy sewing!
9.1 Machine Not Turning On
If your machine fails to turn on, first ensure it is properly plugged into a working power outlet. Check the power cord for visible damage or tangles. Verify that the power switch is functioning correctly and not stuck. If using a foot pedal, ensure it is connected securely. Check your home’s circuit breaker or fuse box to rule out electrical issues. If the problem persists, unplug the machine and contact customer support for assistance.
9.2 Thread Breakage
If the thread breaks frequently, check for improper threading or tension issues. Ensure the thread is seated correctly in the tension discs and guides. Verify that the needle is not bent or dull, as this can cause excessive friction. Also, check if the thread is of poor quality or incompatible with the fabric. Re-thread the machine with the presser foot up to ensure proper tension. If issues persist, consult the troubleshooting guide or contact support.
9.3 Uneven Stitching
Uneven stitching can occur due to incorrect tension settings or improper thread alignment. Check both upper and bobbin thread tensions, ensuring they are balanced. Verify that the fabric is guiding smoothly and not bunching. If using thick fabrics, consider using a walking foot or Teflon foot for better stability. Additionally, inspect the needle for dullness or damage, as this can disrupt stitch formation. Refer to the troubleshooting guide or contact customer support for further assistance.
Warranty and Customer Support
Your sewing machine is backed by a limited warranty. For inquiries or assistance, contact our customer support team via phone, email, or visit our official website.
10.1 Understanding Your Warranty
Your warranty covers manufacturing defects for a specified period. It includes repair or replacement of faulty parts, excluding damage caused by misuse or normal wear and tear. For details, refer to the warranty terms provided with your purchase. Ensure to register your product to activate warranty benefits and enjoy hassle-free support for your sewing machine.
For assistance, visit our website or call the customer service hotline. Provide your machine’s serial number and a detailed description of your inquiry. Email support is also available. Our team is ready to address your questions, provide troubleshooting guidance, and assist with warranty claims. We aim to ensure your sewing experience is smooth and enjoyable.10.2 Contacting Customer Service


Leave a Reply
You must be logged in to post a comment.